Draft Documentation
This guide is currently in development. Content may be incomplete or subject to change.
API Integrations
Connect your flows to external systems using API credentials and integrations. Learn to configure authentication and use APIs in your workflows.
In this guide
Understanding API Integrations
Auralytik provides two ways to connect to external APIs:
Simple Credentials
Quick setup for basic authentication needs. Store API keys, tokens, or username/password combinations.
Best for: Simple APIs with static authentication
Full Integrations
Complete API configuration with multiple endpoints, advanced auth (OAuth2), and response mapping.
Best for: Complex APIs with multiple endpoints
Tip: Start with Simple Credentials for quick integrations. Use Full Integrations when you need multiple endpoints or advanced features.
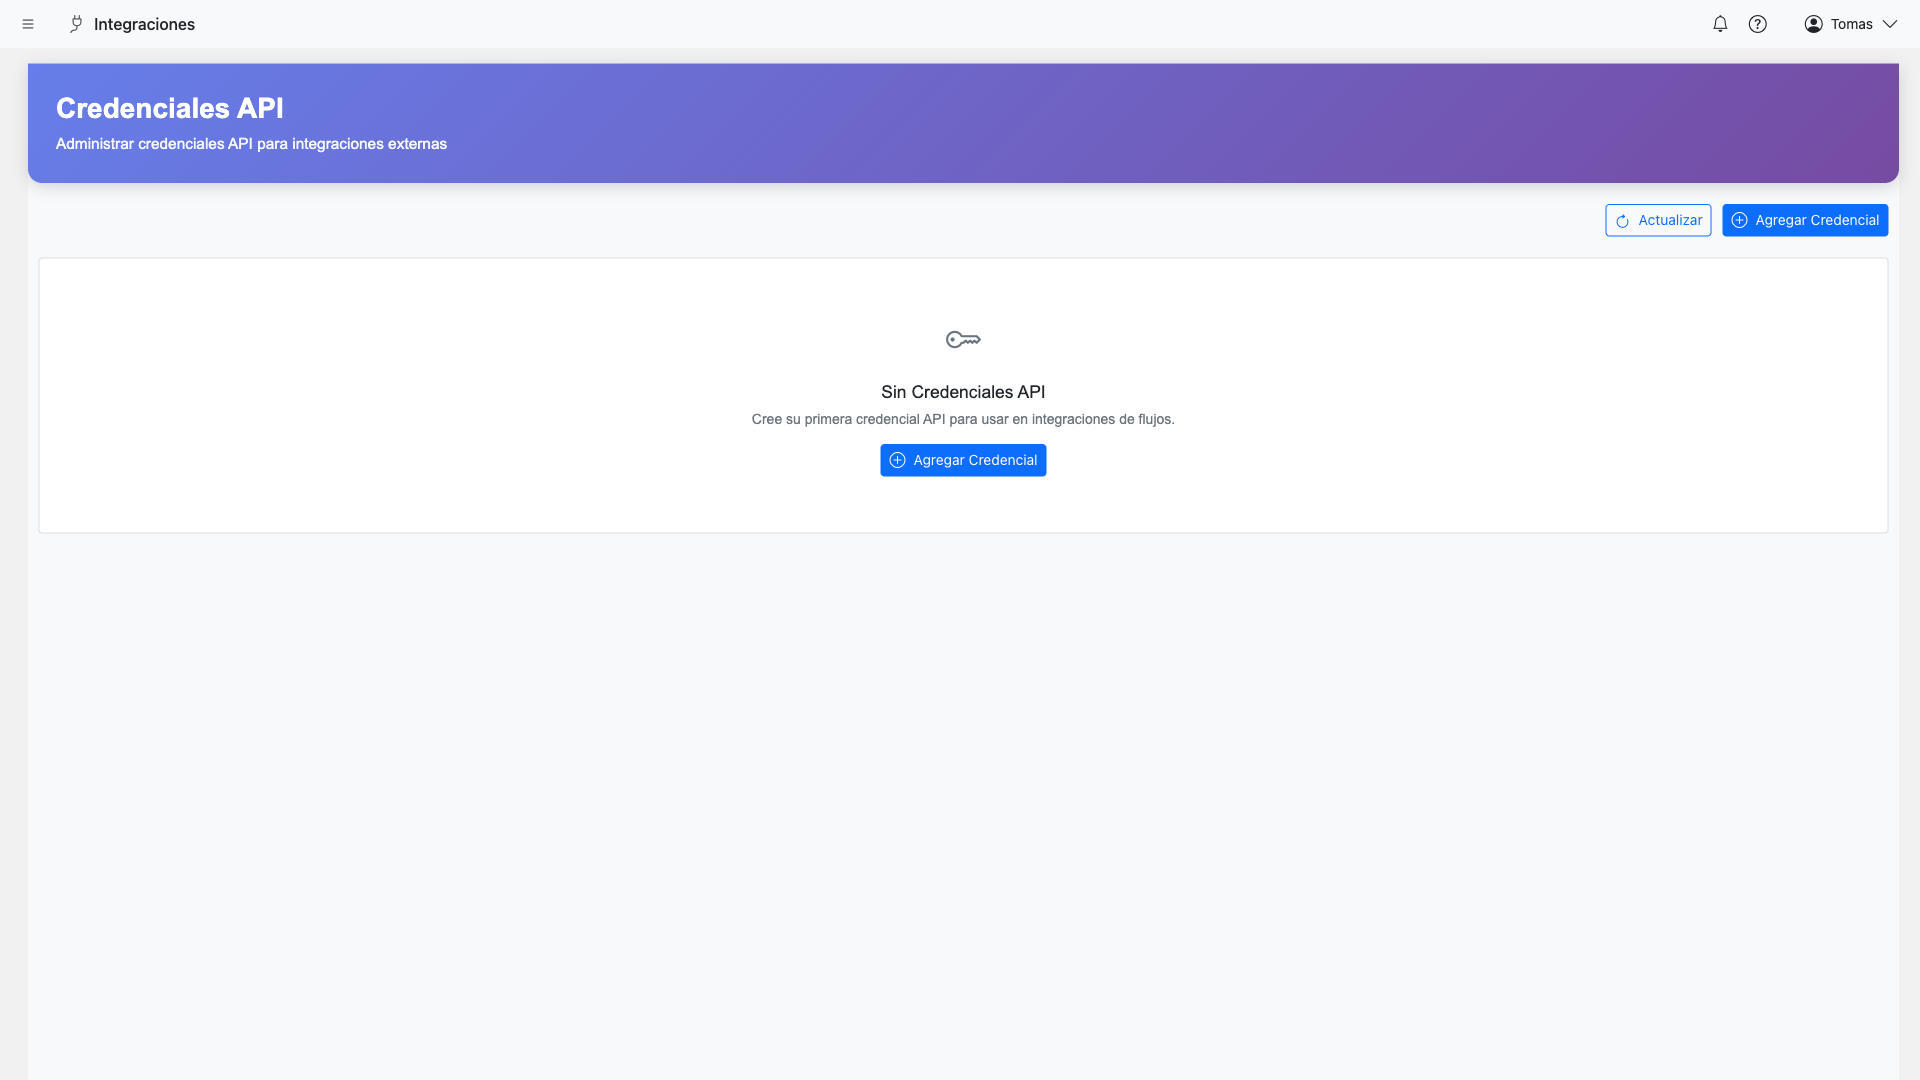
Managing API Credentials
Store and manage authentication credentials securely for your API connections.
Accessing Credentials
- Navigate to AI Integrations from the sidebar
- Select the Credentials tab
- View, create, or edit credentials
Authentication Types
API KeyHeader-based API key authentication. The key is sent in a specified header (e.g., X-API-Key).
BearerToken-based authentication using the Authorization header with Bearer scheme.
BasicUsername and password encoded in the Authorization header.
Query ParamsCredentials passed as URL query parameters (for APIs that require it).
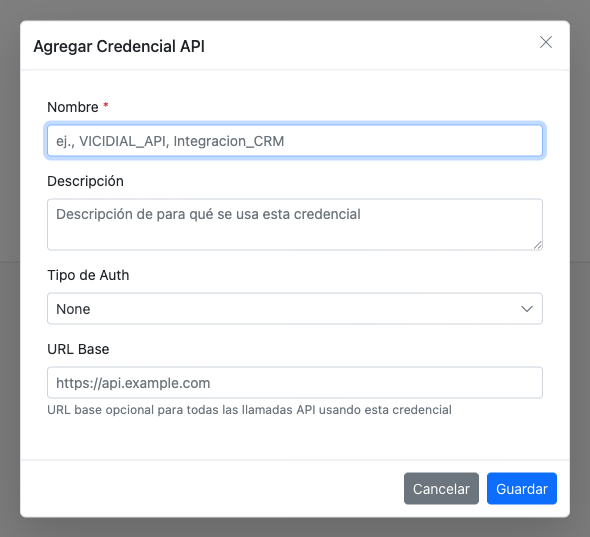
Creating Credentials
- Click "Add Credential"
- Enter a descriptive name (e.g., "CRM Production API")
- Select the authentication type
- Enter the credential values
- Click "Save"
Security
All credential values are encrypted at rest and never exposed in logs or responses. Only the credential name is visible after creation.
Creating API Integrations
Full API integrations allow you to configure multiple endpoints with advanced features.
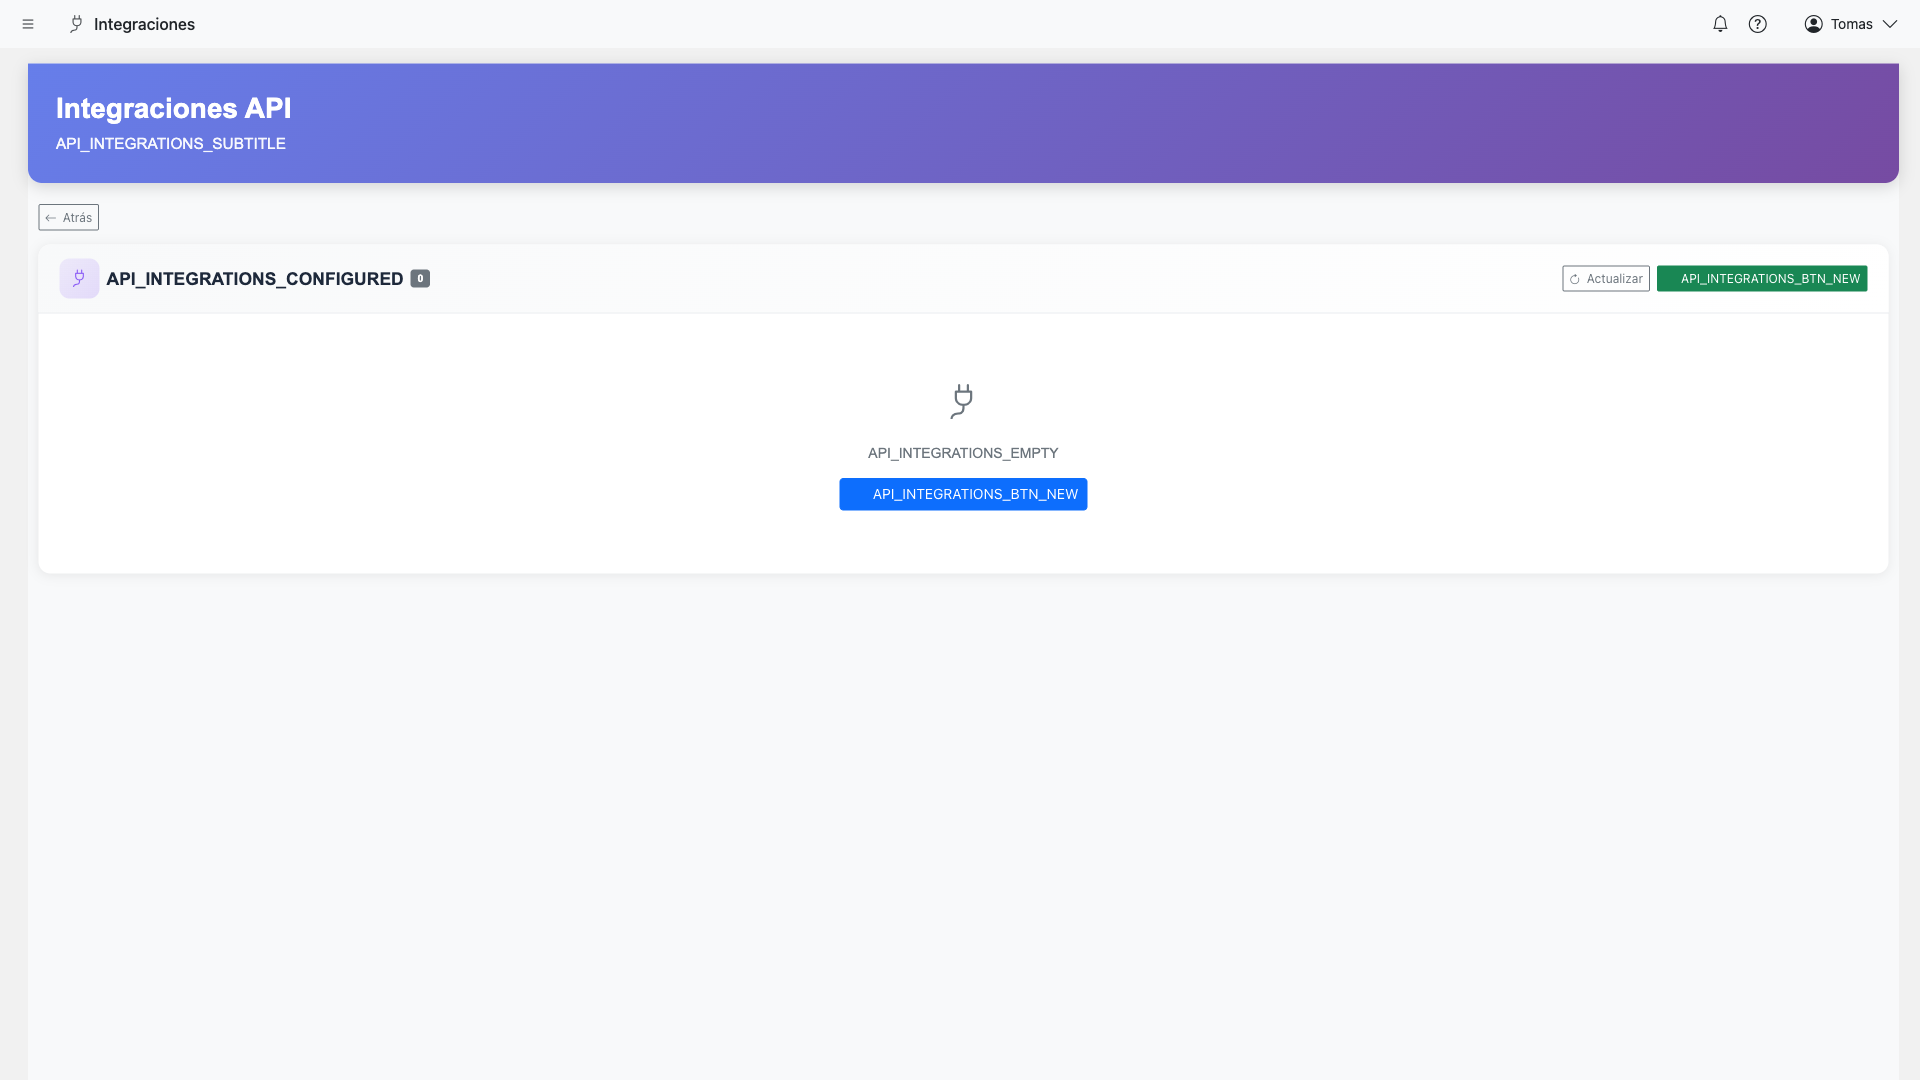
Creating an Integration
- Navigate to AI Integrations → Integrations
- Click "Create Integration"
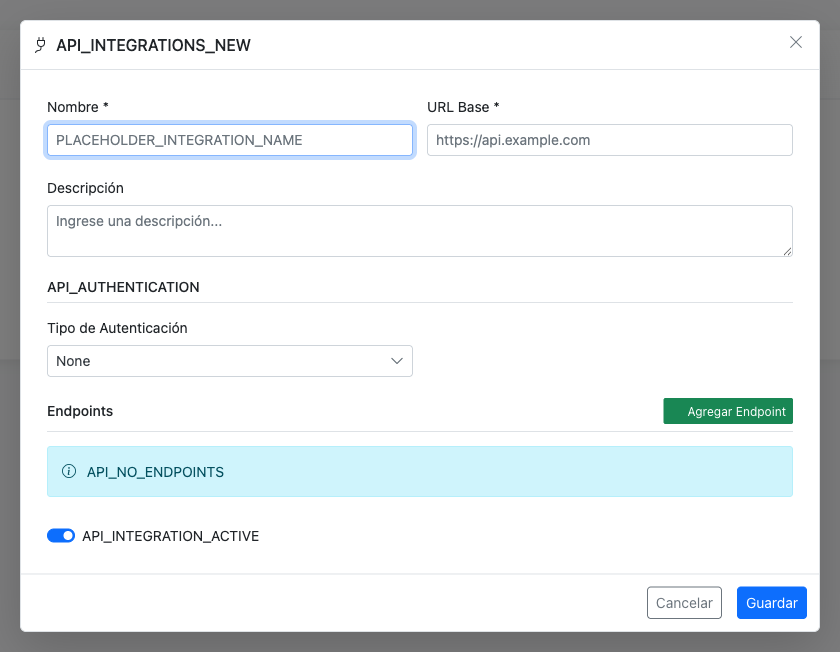
- Enter integration details:
- Name (e.g., "Customer CRM")
- Base URL (e.g., "https://api.crm.com/v1")
- Default headers
- Authentication method
- Add endpoints
- Save the integration
Configuring Endpoints
Each integration can have multiple endpoints:
Endpoint configuration
Screenshot coming soon
Endpoint: Get Customer
Method: GET
Path: /customers/{customerId}
Parameters:
  - customerId (path): Customer identifier

Endpoint: Update Customer
Method: PATCH
Path: /customers/{customerId}
Parameters:
  - customerId (path): Customer identifier
  - body (JSON): Update payload
Advanced Authentication
Full integrations support advanced authentication methods:
OAuth2
Client credentials or authorization code flow with automatic token refresh.
Challenge-Response
Multi-step authentication with dynamic tokens.
Key Vault References
Reference secrets stored in Azure Key Vault for enterprise security.
Using APIs in Flows
Use the ApiCall step in your flows to interact with external APIs.
ApiCall Step Configuration
- Add an ApiCall step to your flow
- Select the integration and endpoint
- Map flow variables to API parameters
- Map API response fields to flow variables
Parameter/response mapping
Screenshot coming soon
Parameter Mapping
Map data from your dataset or flow variables to API parameters:
// API endpoint: GET /customers/{customerId}
// Parameter mapping:
customerId → {{row.customer_id}}

// API endpoint: POST /appointments
// Body mapping:
{
  "customer_id": "{{row.customer_id}}",
  "date": "{{extracted.preferred_date}}",
  "time": "{{extracted.preferred_time}}",
  "notes": "{{ai_classification}}"
}
Response Mapping
Extract data from API responses to use in subsequent steps:
// API Response:
{
  "customer": {
    "name": "Juan Garcia",
    "balance": 150000,
    "status": "active"
  }
}

// Response mapping:
customer_name → response.customer.name
customer_balance → response.customer.balance
customer_status → response.customer.status
Error Handling
Configure how to handle API errors:
- Continue: Proceed with flow even if API fails
- Retry: Retry the request with backoff
- Fail: Mark the row as failed
- Branch: Route to an error handling branch
Using APIs in Voice Actions
Make real-time API calls during voice conversations to provide dynamic information.
Configuring API Voice Actions
- In your VoiceCall step, go to Actions
- Add an ApiCall action
- Select the integration and endpoint
- Define parameters the AI should collect from the caller
- Configure the response template for the AI to speak
Real-Time API Example
// Action: check_balance
// Description: Look up customer account balance
// Parameters:
//   - account_number: Customer's account number

// AI during call:
"Could you please provide your account number?"
[Customer: "1234567"]
// AI triggers API call with account_number=1234567

// Response template:
"Your current balance is {{response.balance}} pesos.
 Your next payment of {{response.next_payment}} is due on
 {{response.due_date}}."
Performance Tip: Keep API calls fast (under 2 seconds) to maintain natural conversation flow. Cache frequently accessed data when possible.
Learn More
For complete details on voice action configuration:Voice Actions Guide →